


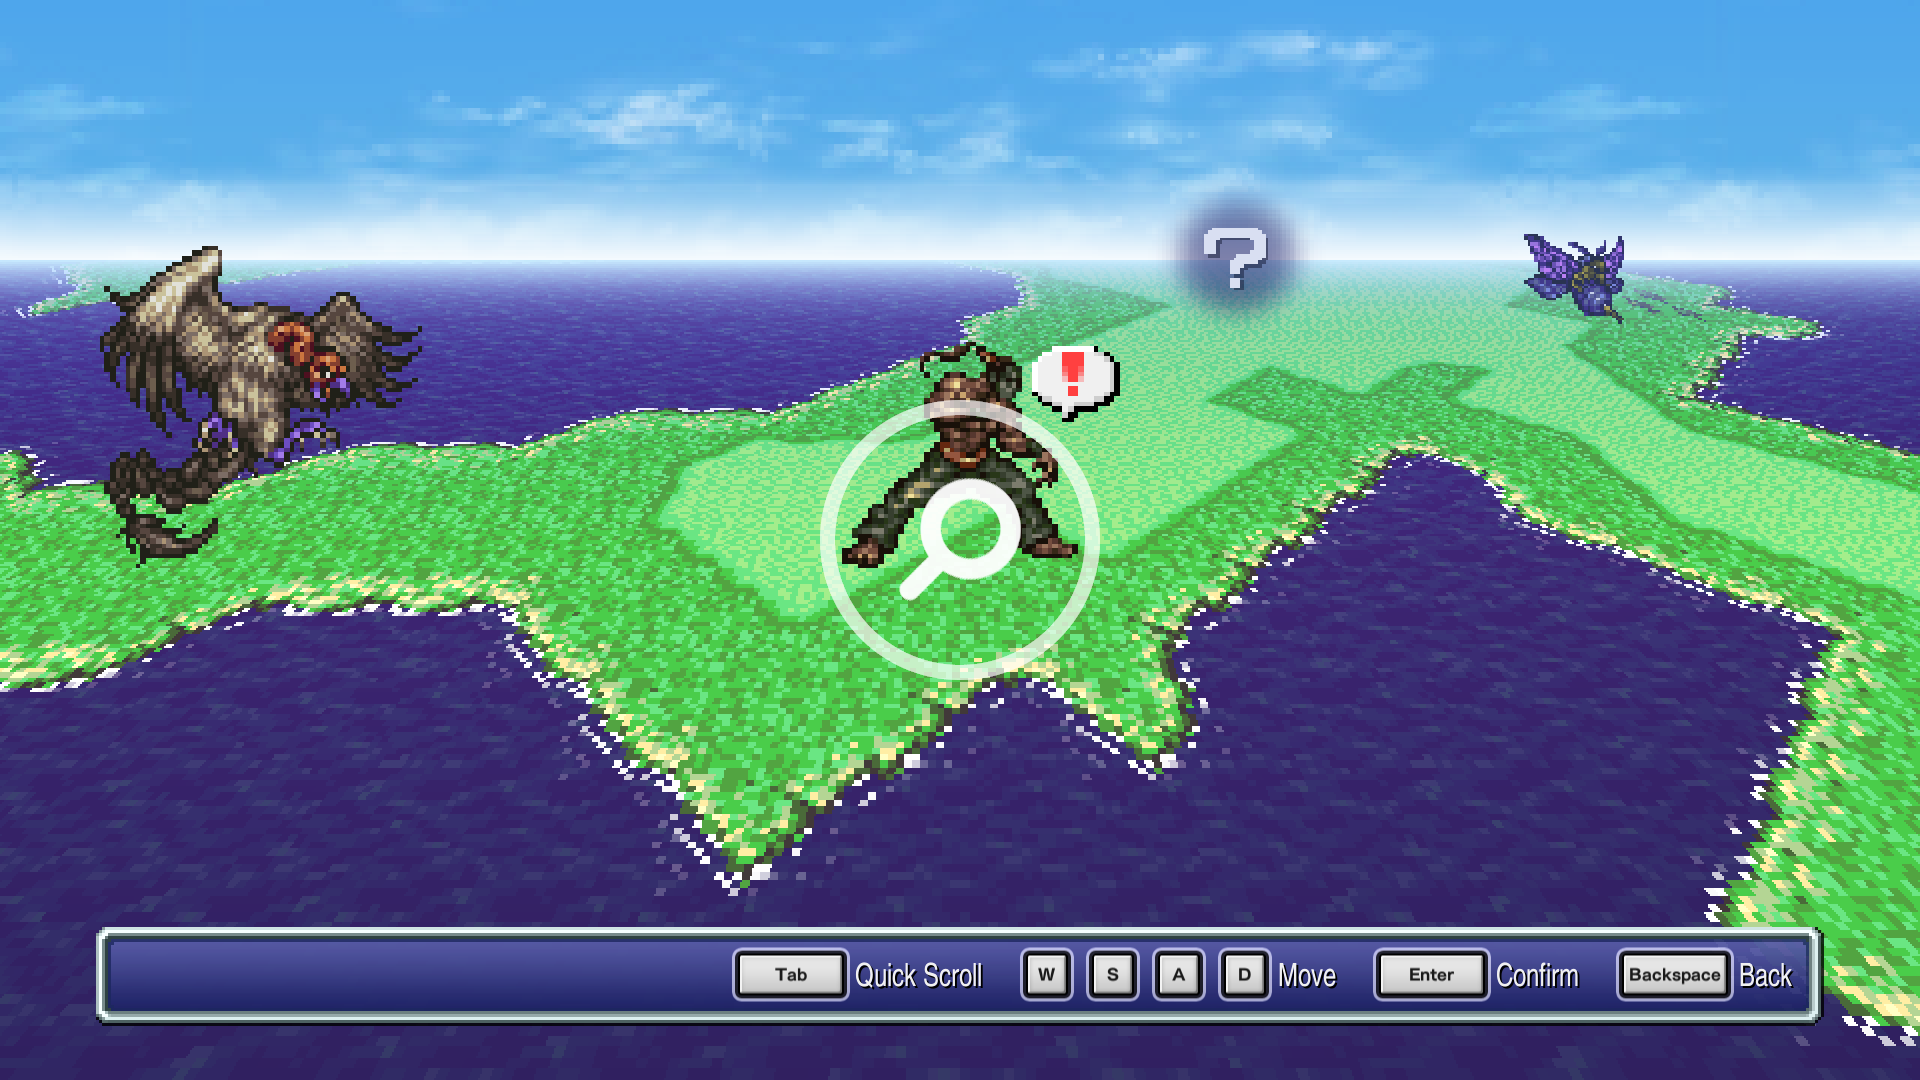
Final Fantasy VI's 14-character cast is the largest in any mainline Final Fantasy, and the Pixel Remaster finally lets you run all of them without the SNES original's mountain of bugs. No more Vanish/Doom one-shotting bosses. No more Gem Box exploit. No more crashed Magicite economy. What's left is the cleanest version of FF6 ever shipped — and it changes who actually performs at the top.
This tier list ranks every playable character in the Pixel Remaster (PC and console) for modern playthroughs. We're weighting endgame relevance: how each character performs from the late World of Balance through World of Ruin into Kefka's Tower and the Soul Shrine. If a character has to be carried through 80% of the game to peak in the last dungeon, they don't get to ride the credit of one good fight.
How the rankings work. Every grade is built on four signals: signature command power in the rebalanced bestiary, how well their ideal Esper pairings translate to endgame stat lines, equipment ceiling (Genji Glove, Master's Scroll, Atma Weapon, etc.), and unique party-comp utility you can't replicate elsewhere. Pixel-Remaster-specific changes — Boost mode for replays, the new Soul Shrine gauntlet, and the rebalanced encounter formulas — are baked into every call.
FF6 Pixel Remaster Tier List at a Glance
- S-tier — Celes · Edgar · Terra · Sabin
- A-tier — Locke · Mog · Cyan
- B-tier — Strago · Relm · Setzer · Shadow · Gau
- C-tier — Umaro · Gogo
Below: per-character breakdowns, ideal Esper pairings, and the four-character parties that exploit each tier hardest in Kefka's Tower and the Soul Shrine.
S-Tier: Run These Four in Almost Every Endgame Party
Celes — Runic Knight, Magic Powerhouse

Celes is the cleanest S-tier pick in the game. Her command, Runic, absorbs any single incoming spell and refunds it as MP — which trivializes magic-heavy bosses including the Magimaster, the Eight Dragons' caster variants, and several Soul Shrine encounters. On top of that utility, she has the highest natural Magic stat outside of Terra and the equipment access to swing pure-physical with Save the Queen, Illumina, or Atma Weapon.
Ideal Esper pairings: Maduin (+1 Magic per level) through the World of Balance, then Bahamut (+50% HP) once stat caps come into reach. For Soul Shrine, swap to Odin/Raiden for Magic Evade.
Where she shines: Magitek raids (Runic eats every spell the imperial casters throw), Kefka's final form (Runic the Light of Judgment), and any Soul Shrine floor that opens with a heavy elemental nuke. Pixel Remaster's rebalance also makes her Magic stat curve land harder than the SNES version.
Edgar — Tool Specialist, No-MP Damage Engine

Edgar's Tools command was always strong in the original, but the Pixel Remaster's tightened MP economy makes consumption-free damage genuinely valuable. Drill ignores defense for flat 250 damage, AutoCrossbow hits all enemies for free, and Chainsaw has a 25% instant-kill chance on anything that isn't immune. Add the Tempest sword's wind-slash proc and you have the most versatile damage dealer in the game without ever spending a single point of MP.
Ideal Esper pairings: Bahamut for HP scaling, then Odin/Raiden once you want speed for back-to-back Tempest crits.
Where he shines: Long Soul Shrine runs where MP starvation eats the rest of your party, the Phantom Train and Magitek Factory speed-clears, and any boss with an elemental immunity that breaks half the cast.
Terra — Trance Burst, Magic Anchor

Terra's Trance is the highest single-turn damage ceiling in the game: it doubles all magic damage and grants a free counter on physical hits. The window is short — about 20 turns once activated — but the Pixel Remaster's smoother encounter pacing means you almost never waste it on a trash mob. Her base Magic stat is the highest in the cast, and she shares Maduin's stat-boost line with Celes for early Magic stacking.
Ideal Esper pairings: Maduin in World of Balance, then Crusader (+1 Magic, teaches Merton) through endgame. Equip the Soul of Thamasa relic for double-cast and she becomes a one-character magic burst phase.
Where she shines: Magimaster (double-cast Flare/Holy ends the fight before he opens his Reflect-bouncing pattern), Kefka's tower top floors, and any Soul Shrine boss that wants to be solved with one big magic turn.
Sabin — Blitz, the Free Physical Nuke

Sabin's Blitz commands hit a stat ceiling almost no other character touches. Phantom Rush — his ultimate Blitz — does pure non-elemental damage that ignores most defensive stat lines and routinely caps at 9999 in a Genji Glove + Kaiser Knuckles + Master's Scroll build. Bum Rush is two tiers below it in raw damage but free to cast and reaches the same ceiling against most bosses with the right relic stack.
Ideal Esper pairings: Bismarck (+50% HP, teaches Aqua Rake early), then Bahamut at endgame for the HP cap.
Where he shines: Every Soul Shrine speed run. Sabin with Master's Scroll plus Genji Glove plus Offering chains four physical attacks per turn at 9999 damage each, end of math, end of fight.
A-Tier: Strong Pulls, Specific Roles
Locke — Steal Plus the Best Endgame Physical Build

Locke's Steal/Mug command is a quality-of-life pickup through World of Balance, but his real value is endgame: he's one of the only characters in the game who naturally accesses the Genji Glove plus Master's Scroll plus Atma Weapon physical-DPS stack. With max-HP gear and the Thief's Knife/Atma loadout, he matches Sabin's per-turn ceiling against magic-immune Soul Shrine encounters.
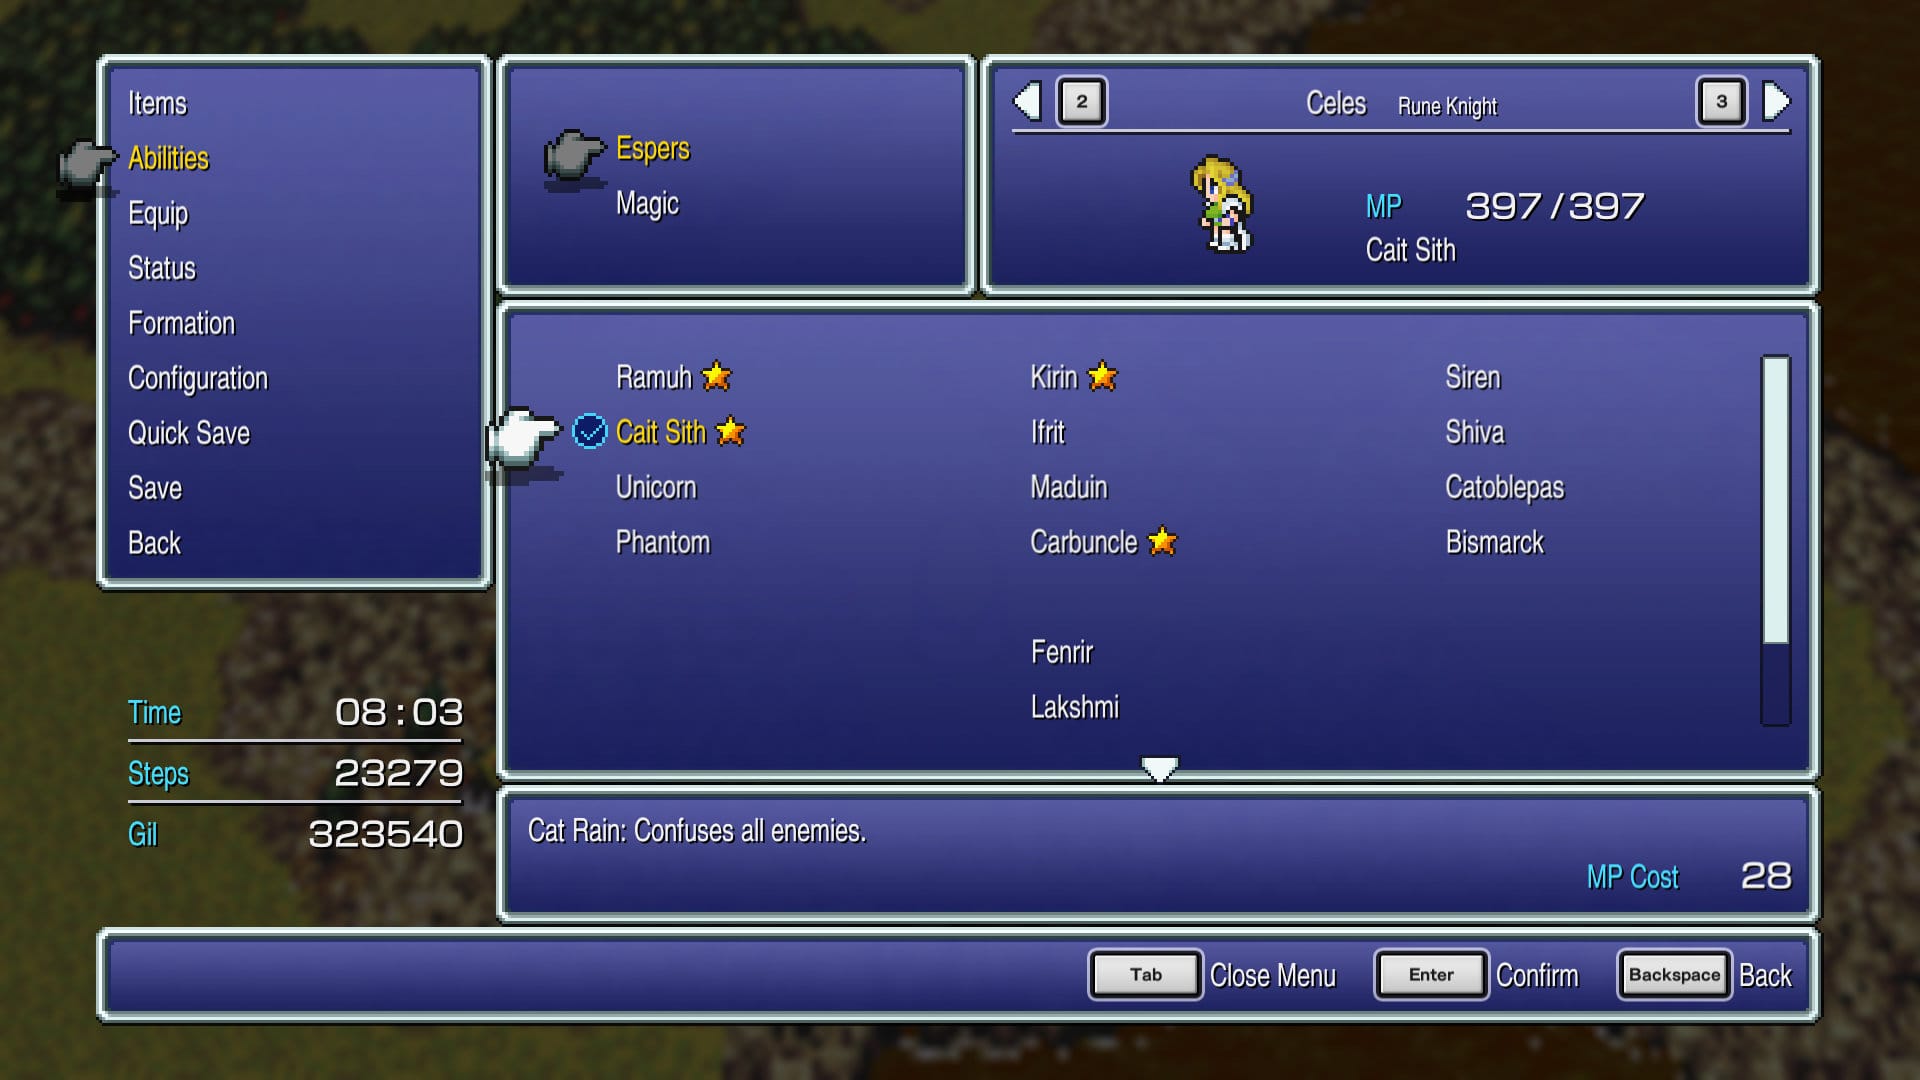
Ideal Esper pairings: Cait Sith (teaches Stop, +1 Speed) for the Speed curve, then Bahamut.
Where he shines: Phoenix Cave (story-mandatory anyway), the Coliseum's high-tier wagers when you need a Mug-eligible drop, and any Soul Shrine floor where you need a Genji-Glove damage line that doesn't depend on MP.
Mog — Dance Utility, Moogle Charm Trivializer

Mog earns A-tier on one item alone: the Moogle Charm relic, which prevents random encounters entirely. That single relic redefines how you play the back half of the game — and only Mog can equip it. His Dance command on top is solid utility (Wind Song's wind damage covers an entire elemental hole, Snowman's freeze rate is a soft-CC for late-WoR fights), and his spear-class equipment scales well with Bahamut's HP boost.
Ideal Esper pairings: Bahamut, then Quetzalli for Speed.
Where he shines: Every Soul Shrine attempt where you want to skip random encounters between fixed fights, World of Ruin map traversal, and any party that's already got two heavy DPS slots and needs the third slot to lock down the dance floor.
Cyan — Bushido, Fixed and Buffed
The original SNES Cyan had a quiet bug where his Bushido charges scaled wrong with Speed. The Pixel Remaster fixed it, and Quadra Slam's hit ceiling is now actually competitive with a basic Sabin Blitz. The catch is the wind-up: Bushido charges feel slow next to Sabin's instant Blitz inputs, and Cyan's evasion is mediocre. He earns A-tier when you build him for charged damage rather than parking him with normal attacks.
Ideal Esper pairings: Kirin (+1 Stamina) early, then Bahamut.
Where he shines: Solo segments (Cyan's Dream is mandatory anyway), boss fights where one massive turn ends the encounter, and Boost-mode replays where the charge time is hand-waved.
B-Tier: Useful, Rarely Mandatory
Strago — Lore, Slow but Brutal
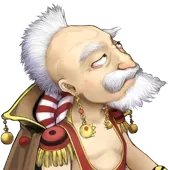
Strago's Lore command teaches him enemy-only spells, and a few of them — Grand Train, Sour Mouth, Mighty Guard — are genuinely top-tier. The problem is acquisition: most useful Lores are buried behind specific mob encounters that require Relm's Control or careful boss positioning, and his base Speed is the second-lowest in the cast. He earns the work, but most players don't put it in.
Ideal Esper pairings: Maduin/Crusader for Magic stacking.
Relm — Sketch (Now Reliable) and Top Magic Stat

Pixel Remaster fixed Relm's Sketch command, which would crash the SNES version if it sketched certain mobs. With that bug gone, Sketch is now a free hit on whatever enemy is on screen, including bosses, and Relm's natural Magic stat is the second-highest in the cast. Why isn't she A-tier? Equipment ceiling. Her gear lineup is shorter than Terra's or Celes's, and she misses out on the elite physical relics. She's a strong fourth slot in a magic-heavy comp.
Ideal Esper pairings: Maduin then Phantom (+10% Magic).
Setzer — Slots and Fixed Dice

Setzer's Slot command is the most cinematic ability in the game and the most inconsistent. Joker Doom (three 7s) instant-kills any non-immune boss, but the odds without the rigged-bar setup are roughly 1-in-2,000 per spin. The reliable play is the Fixed Dice weapon, which scales with character level instead of attack stat — at level 99 it routinely hits 9999 — but until you cap him out, his per-turn damage is mid-pack. He earns B-tier on the strength of one specific endgame build that takes most of the game to set up.
Ideal Esper pairings: Bahamut, then Cait Sith for Speed.
Shadow — Throw and Leave
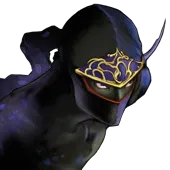
Shadow's main scaling ability is Throw, which lets him hurl high-tier weapons (Skeans, Striker, even regular Atmas if you're rich enough) for damage that ignores most defenses. The catch is well-documented: Shadow can leave the party at random between fights, and he doesn't gain Esper levels while he's gone. He's great when you have him, mid when he's gone, and the inconsistency keeps him out of A-tier.
Ideal Esper pairings: Bahamut, opportunistic Magic-stat Espers when he's around.
Gau — Rage, the Highest Skill Floor

Gau's Rage command lets him absorb any monster's full ability set, and there are exceptional Rages — Stray Cat, Templar, and Io being the standouts — that turn him into one of the best characters in the game. The problem is the grind: most Rages require a trip to the Veldt, careful Leap timing, and a reference list. The 5% of players who learn the system push Gau into S-tier for themselves; the other 95% leave him in B.
Ideal Esper pairings: Bahamut. (Rage handles his offensive scaling.)
C-Tier: Run for Flavor, Not for Power
Umaro — High HP, Zero Control

Umaro is the optional Yeti-cave recruit. He has the highest HP and Strength stats in the cast and zero command list — he picks his actions randomly between Tackle, Charge, and a couple of relic-gated specials. With the Snow Muffler, Berserker Ring, and Rage Ring stacked, he can be the highest single-target damage dealer in the game. With nothing equipped, he's a glorified slot. He's a flex pick for parties that already have all the utility solved.
Gogo — Mimic and Nothing Else
Gogo is the most interesting C-tier in any RPG ever made. Their Mimic command copies whatever the previous character did, including Esper summons and double-cast bursts. The trap is that Gogo can't equip Espers themselves, which means no stat-boost levels, no Magic curve, and no relic synergy past basic Genji Glove tricks. Gogo is fun, narratively brilliant, and almost always the wrong fourth slot when a Soul Shrine boss is on the line.
The Five Essential Parties
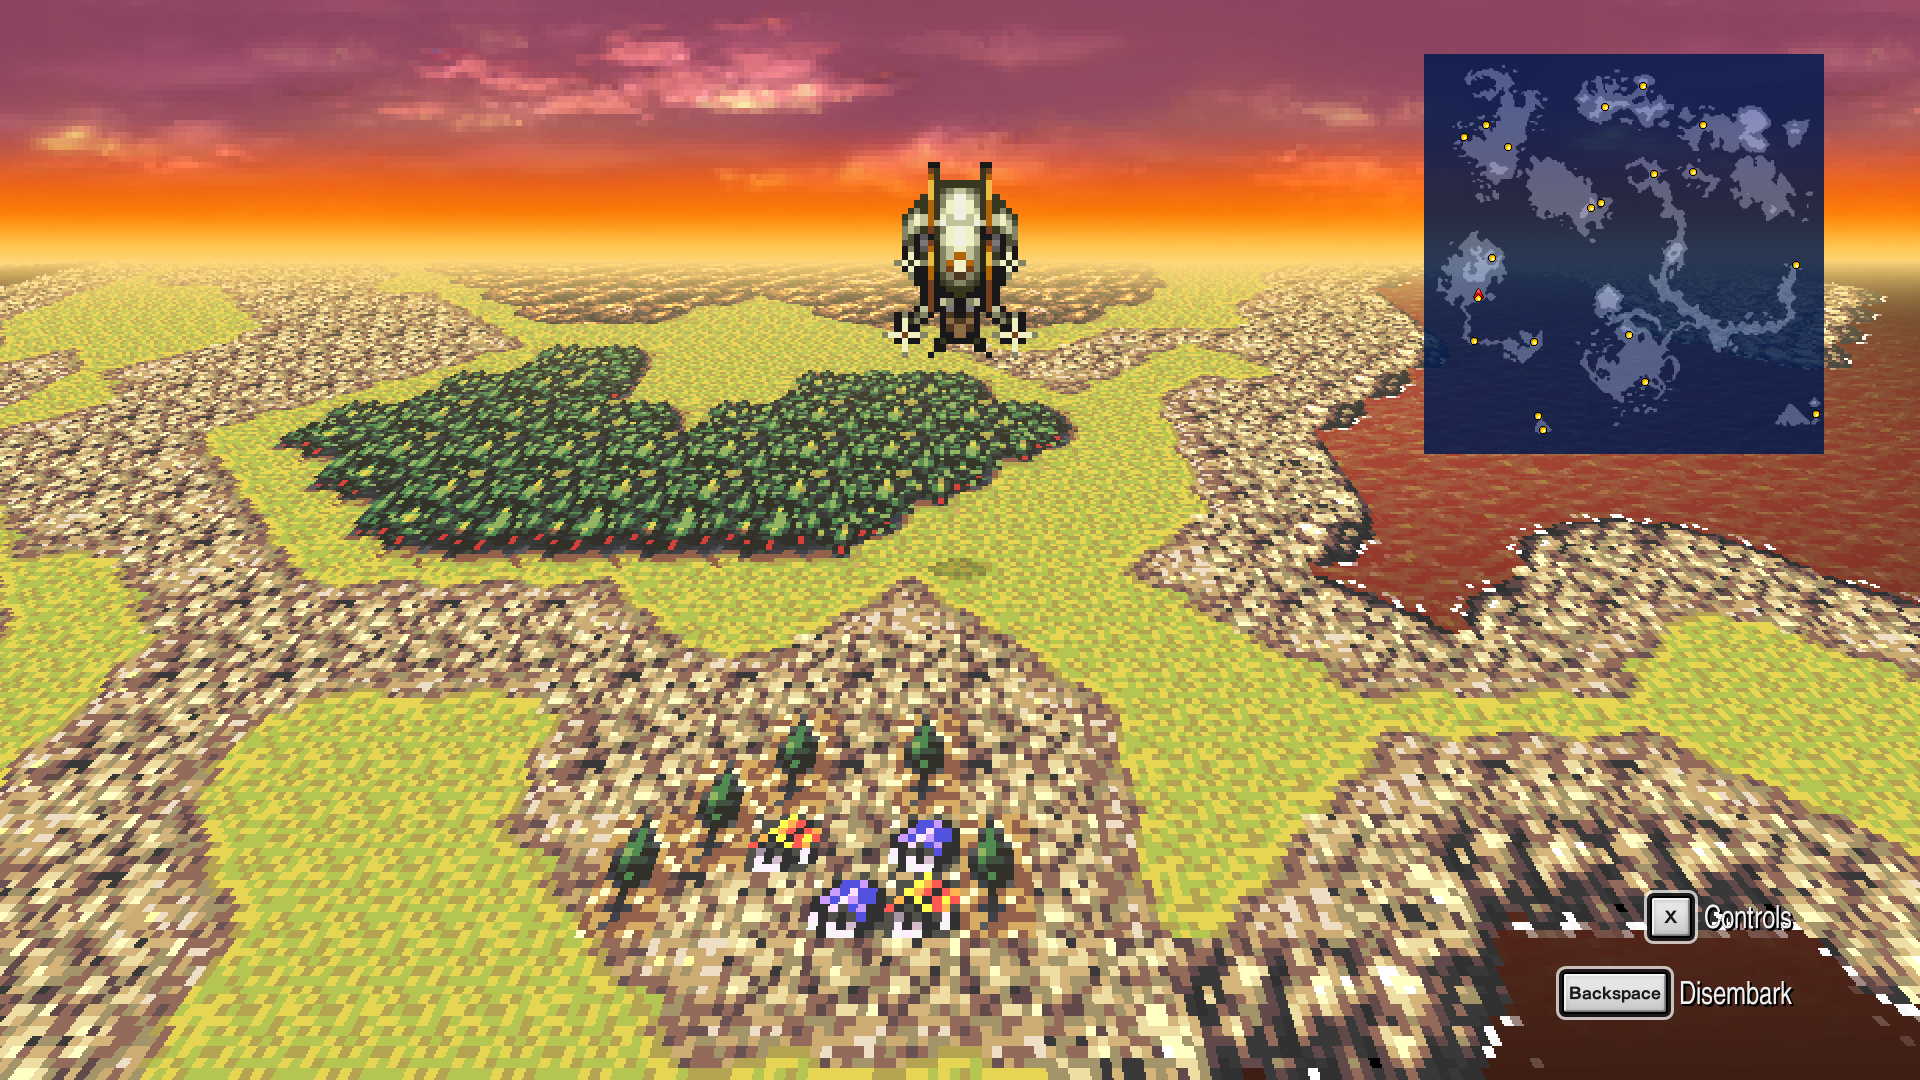
Tier-list theory is fine, but the question most readers actually ask is "what four characters should I bring." Five parties cover almost every endgame fight in the Pixel Remaster.
- The Soul Shrine Speed Comp — Sabin · Edgar · Celes · Mog. Two free-MP nukes (Sabin, Edgar), one Runic anchor (Celes), one no-encounter dance slot (Mog). Clears the Soul Shrine in under an hour with Genji Glove + Master's Scroll on Sabin.
- The Magic Burst Comp — Terra · Celes · Relm · Strago. Four casters, two with Soul of Thamasa, one Runic anchor, one Mighty Guard buffer. Built for Magimaster, Kaiser Dragon, and any boss whose phases collapse to a single nuke turn.
- The Coliseum Wager Comp — Locke · Sabin · Mog · Gogo. Locke for Mug returns, Sabin and Gogo for the actual fights, Mog for utility. Coliseum-only build for grinding the rare-drop relics.
- The Boss-Killer Stack — Edgar · Sabin · Celes · Terra. Three S-tier damage profiles plus the Runic anchor. Defaults to most "single hard fight" content in the World of Ruin.
- The Veldt Grinder — Gau · Mog · Sabin · Relm. Mog skips encounters until you want them, then Gau Leaps, Sabin handles the actual fight, Relm Sketches anything new. Niche but the only correct way to actually farm Rages.
Pixel Remaster Notes That Change Tier Decisions
If you played the SNES original, three changes matter most for tier ranking:
- The Vanish/Doom exploit is gone. No more invincible-then-instant-kill cheese on bosses. Characters with strong stand-up damage (Sabin, Edgar) gain real value.
- Sketch and Bushido are bug-fixed. Relm and Cyan are both meaningfully better than their SNES versions.
- The bestiary 100% achievement and Soul Shrine. Pixel Remaster adds the Kaiser Dragon refight, the Soul Shrine bonus dungeon, and bestiary tracking — all of which reward parties built for endurance over single-burst, which lifts Edgar, Mog, and Cyan a half-tier from the original meta.
If you're considering a replay, Boost mode (XP/gold/EXP toggles) lets you skip most of the early-game stat-pacing and jump straight to endgame builds — and it's the single biggest reason to redo this game in the Pixel Remaster instead of any prior port.
Where to Go Next
If you want to go deeper into FF6's customization layer, the next pieces of the FF6 hub will cover the systems behind the rankings: FF6 Pixel Remaster Hub for the full guide map, the Esper Setup Guide for magic-learning order and stat-boost min-maxing, the Boss Strategy Guide for fight-by-fight breakdowns of Atma Weapon through Kefka's three tiers, and the Hidden Characters Guide for Gogo and Umaro recruitment paths.
Building toward a wider JRPG plan? This list slots into our anchor piece, Best JRPGs of All Time: The Definitive Ranked List (2026), where FF6 sits in the top tier. If you loved FF6 and want a modern game built on the same DNA, the Sea of Stars hub covers the spiritual successor — including a sister tier list ranking that game's six-character cast.
Get the Next Guide First
Geeky Inc ships a new FF6 and Sea of Stars guide every two weeks. Drop your email and the next one — Esper Setup or the Sea of Stars Tier List — lands in your inbox the morning it goes live. No spam, no promo blasts, just the guide.
Wave 1 — Kitsune Legends Vol. 1
Wave 1 is live.
Four hand-printed fox-spirits. One sealed box. You don't choose your kitsune — you summon it. Limited run, no restock.
Summon your Kitsune on Etsy →

Member discussion