


If you've been watching those satisfying timelapse videos of fully painted anime figures rolling off a Bambu Lab bed, wondering how people actually get results that clean — this is that guide. Not a beginner "what is FDM" explainer. The real settings, the real material choices, and the Bambu-specific workflow that separates a fuzzy prototype from a shelf-worthy collectible.
We print characters on a Bambu Lab P1S and X2D here at Geeky Inc. Everything below is tested on those machines. If you're on an X1C, almost all of it applies. If you're on an A1 or A2L, the settings transfer but you won't get the enclosure benefits for PETG.
Why Bambu Printers Are Built for Character Printing
Most printer brands advertise "perfect for miniatures." Bambu actually delivers it — not because of marketing, but because of three things that matter for figures specifically:
- Layer consistency at speed: The vibration compensation (input shaping) means Bambu can print fast without the ringing artifacts that ruin fine detail. You get clean surfaces at 0.12mm layers without dropping to 20mm/s.
- Enclosure (P1S/X1C/X2D): Characters need consistent temp to avoid warping and delamination on tall, thin parts — limbs, weapons, antennae. Open-frame printers struggle here.
- AMS for multi-color: Proper character color without painting. We covered the full AMS workflow in our AMS multi-color guide — read that after this if color is your priority.
The X2D adds one more: a dedicated support extruder. Complex poses and detailed figures that would require mechanical support removal now print with breakaway or soluble supports. This opens up designs that were previously resin-only territory.
Materials: What to Actually Use
Three materials cover 95% of character printing scenarios:
PLA Matte — Your Default
Bambu PLA Matte is the go-to for figures you're going to paint or leave as-is. The matte finish diffuses light and hides layer lines the way glossy PLA never does. Prints at standard temps, no enclosure required, zero warping. Print at 220°C hotend / 35°C bed. Bambu's own PLA Matte in 16-color packs is the easiest path for multi-color work.
PETG — For Articulated Parts That Need Flex
PETG has better impact resistance than PLA and a slight flex that helps with snap-fit joints and ball-socket connections. Use it for the poseable parts of a figure — limbs, weapons with grip areas, stands with clip mounts. Print at 240°C / 70°C bed. Run at 70% speed on the P1S to prevent stringing on fine geometry.
TPU — For Soft Connectors and Cables
Flexible filament for any part that needs genuine give: capes that drape, cable details, wing membranes. Print slow (20–30mm/s) and disable AMS — TPU doesn't work reliably through the multi-material system. Keep it to accent parts, not structural ones.
Bambu Studio Settings That Actually Matter

These are the four settings that change results the most. Everything else can stay on defaults.
Layer Height: 0.12mm for Figures
Standard profiles default to 0.20mm. That's great for mechanical parts. For characters, drop to 0.12mm. You'll see smoother curves on faces and shoulders, cleaner cloth folds, and less visible stepping on rounded limbs. Print time roughly doubles, but the quality jump is worth it for anything display-worthy. Use Variable Layer Height (under Quality) to automatically use thicker layers on flat structural areas and 0.08–0.10mm on detail-heavy zones like faces.
Wall Order: Outer/Inner
Under Quality → Advanced, switch Wall Order from the default to Outer/Inner. This prints the visible exterior surface before the inner wall, which means the outer surface isn't pushed or dragged by extrusion pressure from inside. Result: crisper features, tighter detail, no speed penalty.
Seam: Aligned
The seam is the vertical line where each layer's perimeter starts and stops. On figures, set Seam Position to Aligned so the seam runs as one clean vertical line down a hidden part of the model (back of a head, inner leg). Scatter seam spreads it everywhere and looks worse on curved surfaces.
Infill: 5–8% for Display Figures
Figures are display objects, not load-bearing parts. Drop infill to 5–8% with grid or gyroid pattern. You'll save filament and print time without affecting the result. For figures with clip-on accessories or play-intended articulation, go up to 15–20% in those specific parts.
Articulated Figures: Joints, Tolerances and the X2D Advantage
Print-in-place articulated figures are one of the most satisfying things an FDM printer can produce. The joints move straight off the bed with no assembly. Here's how they actually work and how to dial in Bambu-specific tolerance:
Joint Types
- Ball-and-socket: Most versatile — full range of motion. Needs 0.2–0.3mm clearance for a friction fit, 0.4–0.5mm for free rotation. Bambu prints these reliably at 0.12mm layer height.
- Snap-fit: Finger joints that click together. Use 0.2mm gap. PLA at low infill will snap on first assembly — switch the specific joint part to PETG.
- Living hinge: Print TPU thin (0.4mm wall) for cape and wing articulation. Can't do this easily without a multi-material printer.
Tolerance Calibration on Bambu
Bambu printers run tight out of the box. If a designer's tolerance spec is 0.2mm and the joint is binding, add 0.05mm and reprint just that part. The X2D's precision means you can trust stated tolerances more than you could on most printers. If joints are printing fused, raise your first layer calibration by 0.02mm — over-squish kills clearances faster than anything else.
X2D Dual-Nozzle for Complex Figures
The X2D's second extruder does support material — either breakaway PLA or BVOH soluble. This changes what figures are printable. Dynamic poses with outstretched arms, weapons held aloft, hair flowing sideways — all of these required resin before the X2D. Now you print with auto-generated support interfaces in a different material and peel them off cleanly. No scarring, no mechanical grinding.
Where to Find Anime and Gaming STLs
The short list of sources that actually deliver printable, tested files:
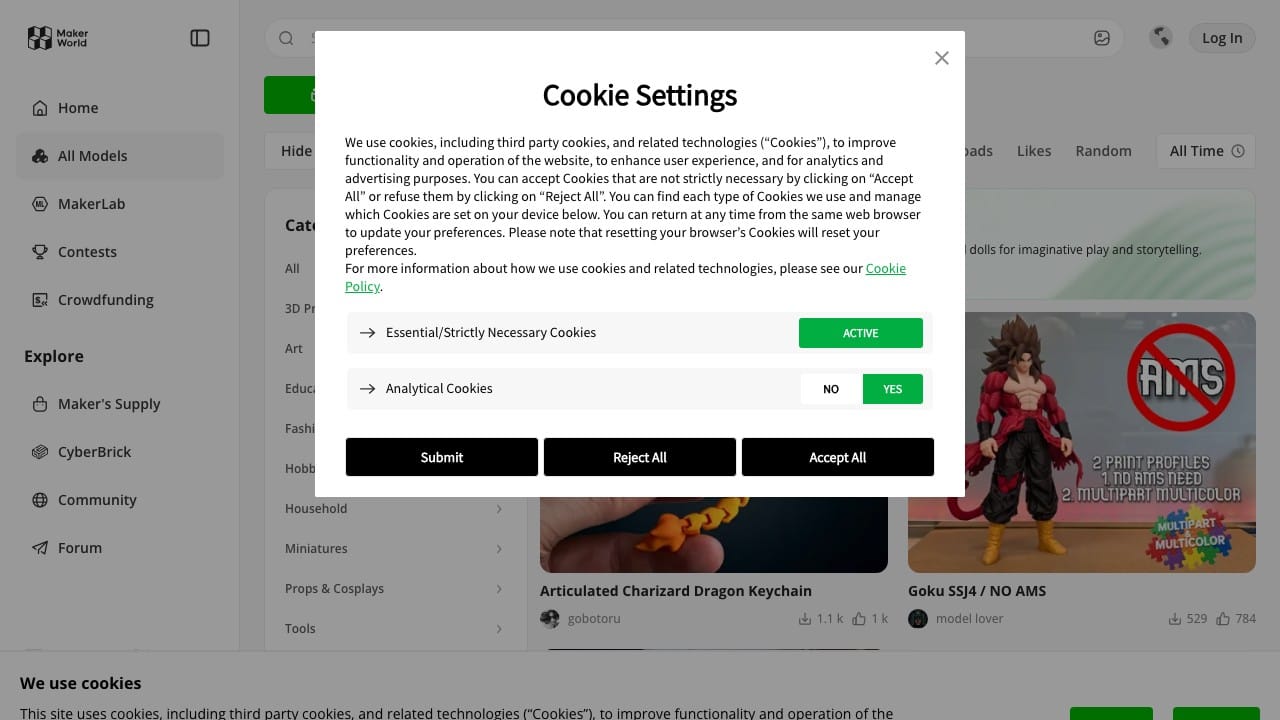
- MakerWorld Characters — Bambu's own community platform. Models are tagged by printer and often include pre-configured .3MF files with layer settings and color assignments built in. Start here.
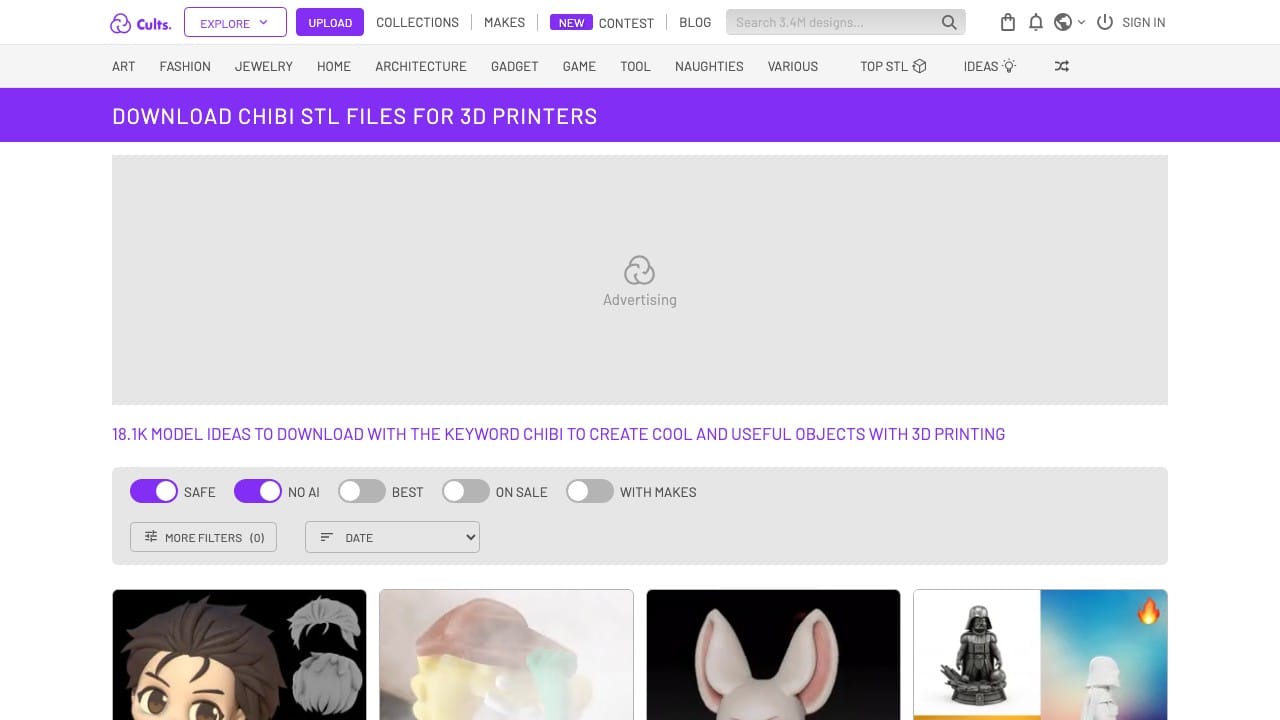
- Cults3D Chibi Collection — 17,000+ models. Sort by "best sellers" to surface tested designs with good community feedback.
- Printables Chibi Tag — Free-first platform. Filter by "no supports" or "print-in-place" for quick wins.
- Gambody Anime — Premium quality, multi-part articulated figures. Pricier but includes print instructions and assembly guides. Good for display-quality builds.
- SpecialSTL — ZZZ Collection — If you're into Zenless Zone Zero or Honkai: Star Rail, this designer has clean chibi versions with FDM-optimized geometry.
For the anime × RPG sweet spot — Final Fantasy, Elden Ring, JJK, Demon Slayer — search by franchise on Cults3D and filter by FDM printer. Fan-made files often rival commercial quality for these IPs.
Post-Processing: From Raw Print to Display-Ready
Even a perfect 0.12mm Bambu print has visible layer lines under direct light. Here's the minimal post-processing stack that actually works:
- 220-grit sandpaper: Knock down the worst layer lines on flat surfaces. Wet sand to control dust.
- Filler primer spray (Rust-Oleum or Tamiya): One coat reveals everything the sandpaper missed. Let dry, then 400-grit where needed.
- 1000-grit wet sand: Final surface prep before color coats. Figures look almost injection-moulded at this stage.
- Acrylic paint: Vallejo or Citadel for detail work; rattle cans for base coats. Thin with water, build up in layers.
- Matte varnish seal: Protects the paint and kills any remaining plastic sheen.
If you're printing multi-color with AMS, you can skip painting entirely on most chibi-style figures. The matte filament does enough. Save the full post-process treatment for hero display pieces.
Geeky Inc Wave 1: What We Print
Our Kitsune blind box wave is built on exactly this workflow — P1S with AMS, PLA Matte, 0.12mm layers, multi-color characters printed from tested STLs. Each pack ships with a lore card and display stand. If you want to see what's possible before you invest in your own machine, grab a pack on Etsy and see it in person.
For more on the multi-color printing workflow specifically, check our AMS Guide for P1S & X1C. For the broader figure ecosystem — STL sources, joint types, folklore characters — the Complete Guide to 3D Printing Anime Figures has you covered.
Questions about settings or specific STLs? Drop them in the comments — we check daily.
Our bench, one page: the printer, filament, and finishing kit we run for every figure on this site — The Gear We Actually Use.
Wave 1 — Kitsune Legends Vol. 1
Wave 1 is live.
Four hand-printed fox-spirits. One sealed box. You don't choose your kitsune — you summon it. Limited run, no restock.
Summon your Kitsune on Etsy →


Member discussion