


Multi-color 3D printing anime and gaming figures without painting them used to mean fighting your slicer, burning through purge blocks, and still ending up with muddy color transitions. In 2026, that's genuinely changed — and if you're on a P1S or X1C with AMS, you're already sitting on the hardware you need to print clean, no-paint multi-color figures.
This guide is for Bambu P1S and X1C users. We'll cover how AMS multi-color works for figure printing, what file formats to look for, which filaments perform best, and how to minimize waste on high-color-count models. For the full picture of figure printing — printer choice, filament, design sources, and selling — see our complete guide to 3D printing anime, gaming & folklore figures.
How AMS Multi-Color Works for Figure Printing
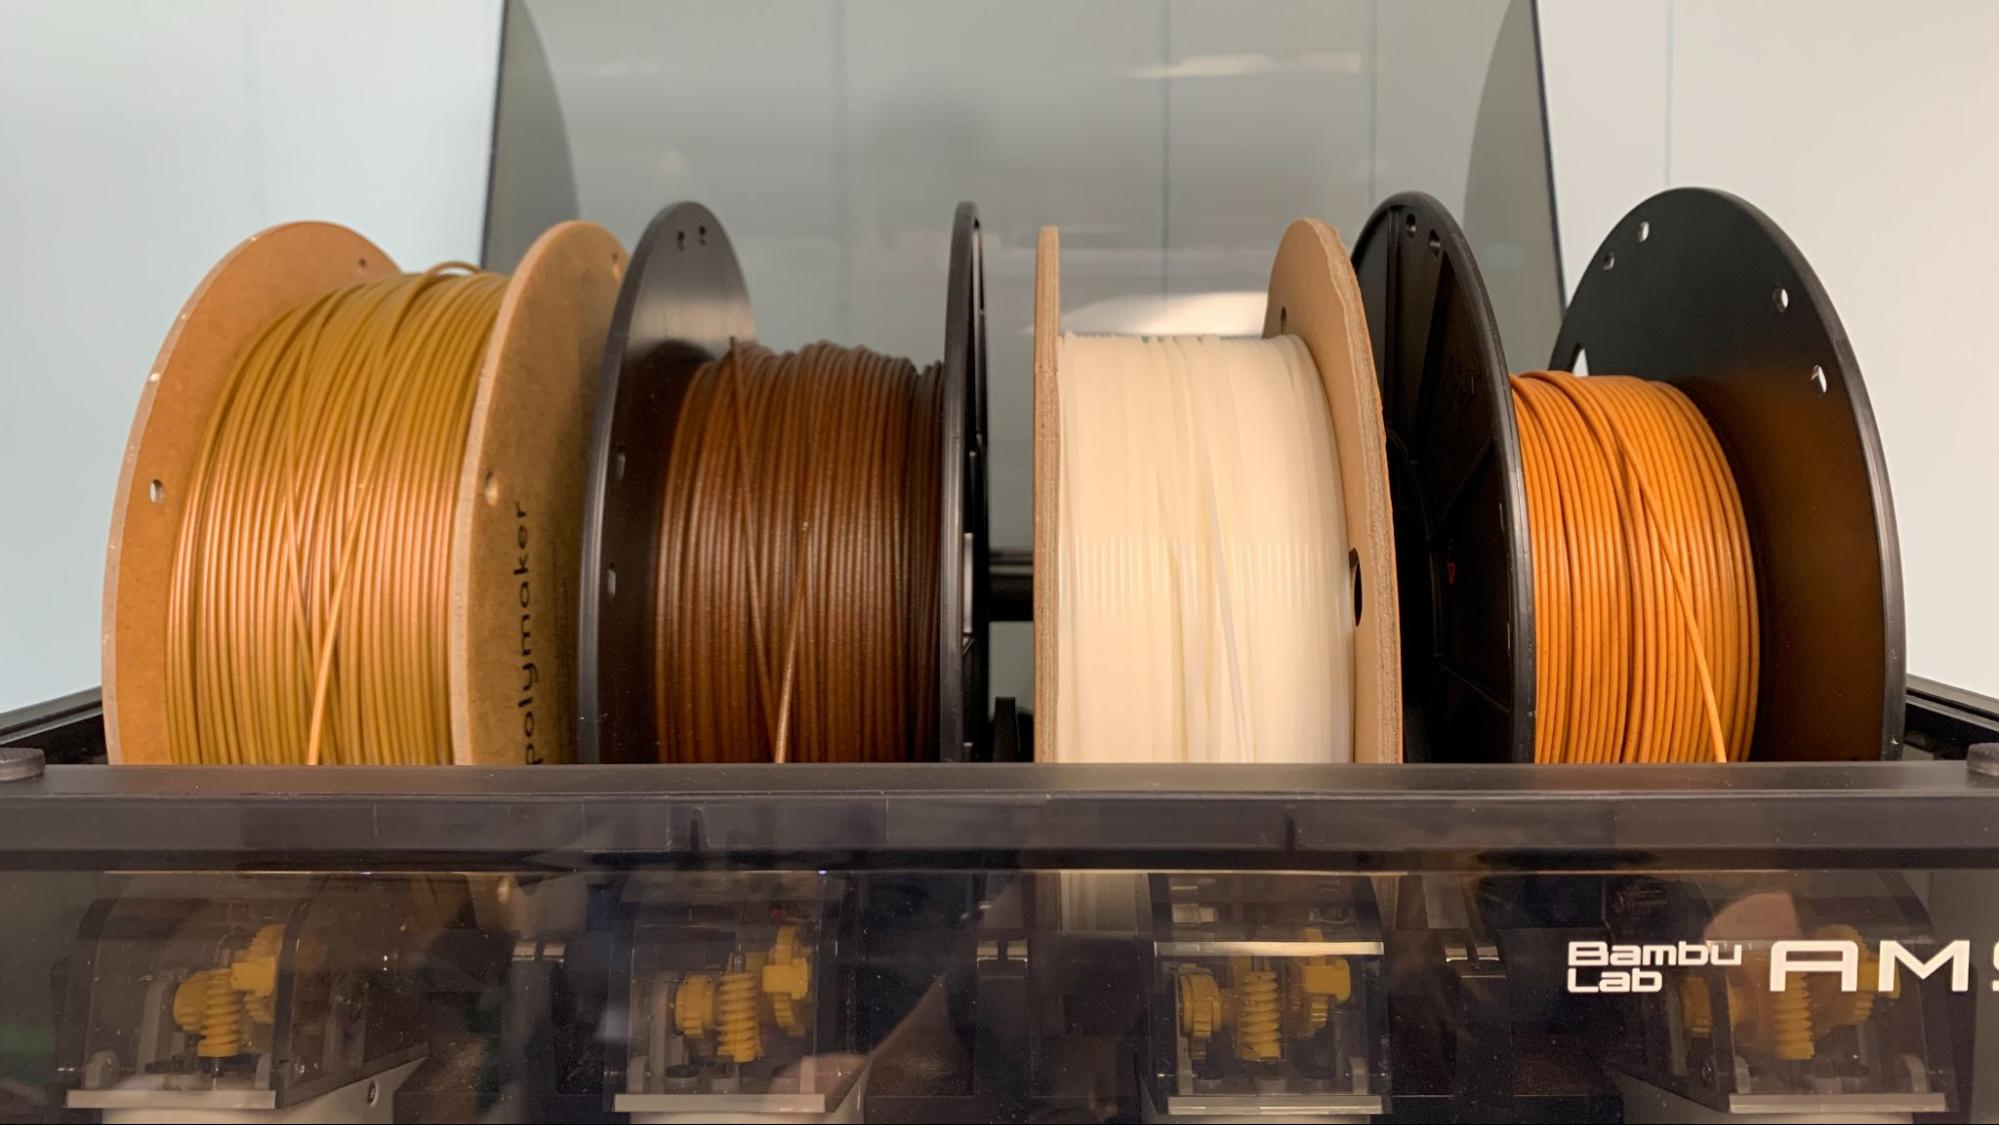
The AMS (Automatic Material System) works by pushing and pulling filament through a single nozzle, switching between up to 4 colors (or 16 with 4 AMS units chained). Each color swap involves pushing the new filament through and purging the old color into a waste "prime tower" until the nozzle runs clean.
What this means for figure printing:
- 4 colors max per AMS unit — enough for most anime figures (skin, hair, outfit, eyes/detail)
- Purge waste is real — a high-swap figure eats filament. Budget 20–40g of waste on a complex multi-color print
- Color bleed between transitions — lighter colors after dark ones (white after black) need more purge material to run clean. Use Bambu Studio's flush calibration to dial this in
- Prime tower — the waste tower that catches purged material. Don't skip it; it prevents color bleeding on the model
The 2026 upgrade: Meshy's new Multi-Color Printing feature automatically maps complex textures into color zones compatible with Bambu AMS, removing the need for manual coloring in Bambu Studio. If you find a textured model file (.3MF with texture), you can often import it and let the software auto-assign filament colors. This is a game-changer for figures with detailed pattern work.
The X2D alternative: If purge waste is the bottleneck, the new Bambu X2D's dual-nozzle architecture cuts purge by 70–80% versus AMS-only multi-color setups. For two-color characters at any production volume, this is the upgrade path — see our full X2D creator economics breakdown. AMS is still the right answer for 3+ color figures and for anyone not yet ready to upgrade past the P1S or X1C.
What File Types to Look For
Not all STL files work for multi-color printing. Here's what actually matters:
- .3MF with color data — the gold standard. Bambu Studio reads color assignments natively. Many MakerWorld models are packaged as .3MF with pre-assigned colors for AMS. Download and slice — it just works.
- Multi-body STL — multiple STL files for one model (body.stl, hair.stl, outfit.stl). Import all into Bambu Studio, assign colors manually, and print as a single job. More setup but total control.
- Single STL — paint manually in Bambu Studio's color painting mode. Slower but doable for simple models. Not recommended for fine detail like eye decals.
Best sources for multi-color-ready files:
- MakerWorld — Bambu's own model platform, everything here is slicer-ready
- Printables — large library of multi-body anime models tagged "multicolor"
- Cults3D — paid models often include pre-split multi-body files
- Our full breakdown: Best Anime STL Files for 3D Printing in 2026
Best Filaments for Multi-Color Anime Figures
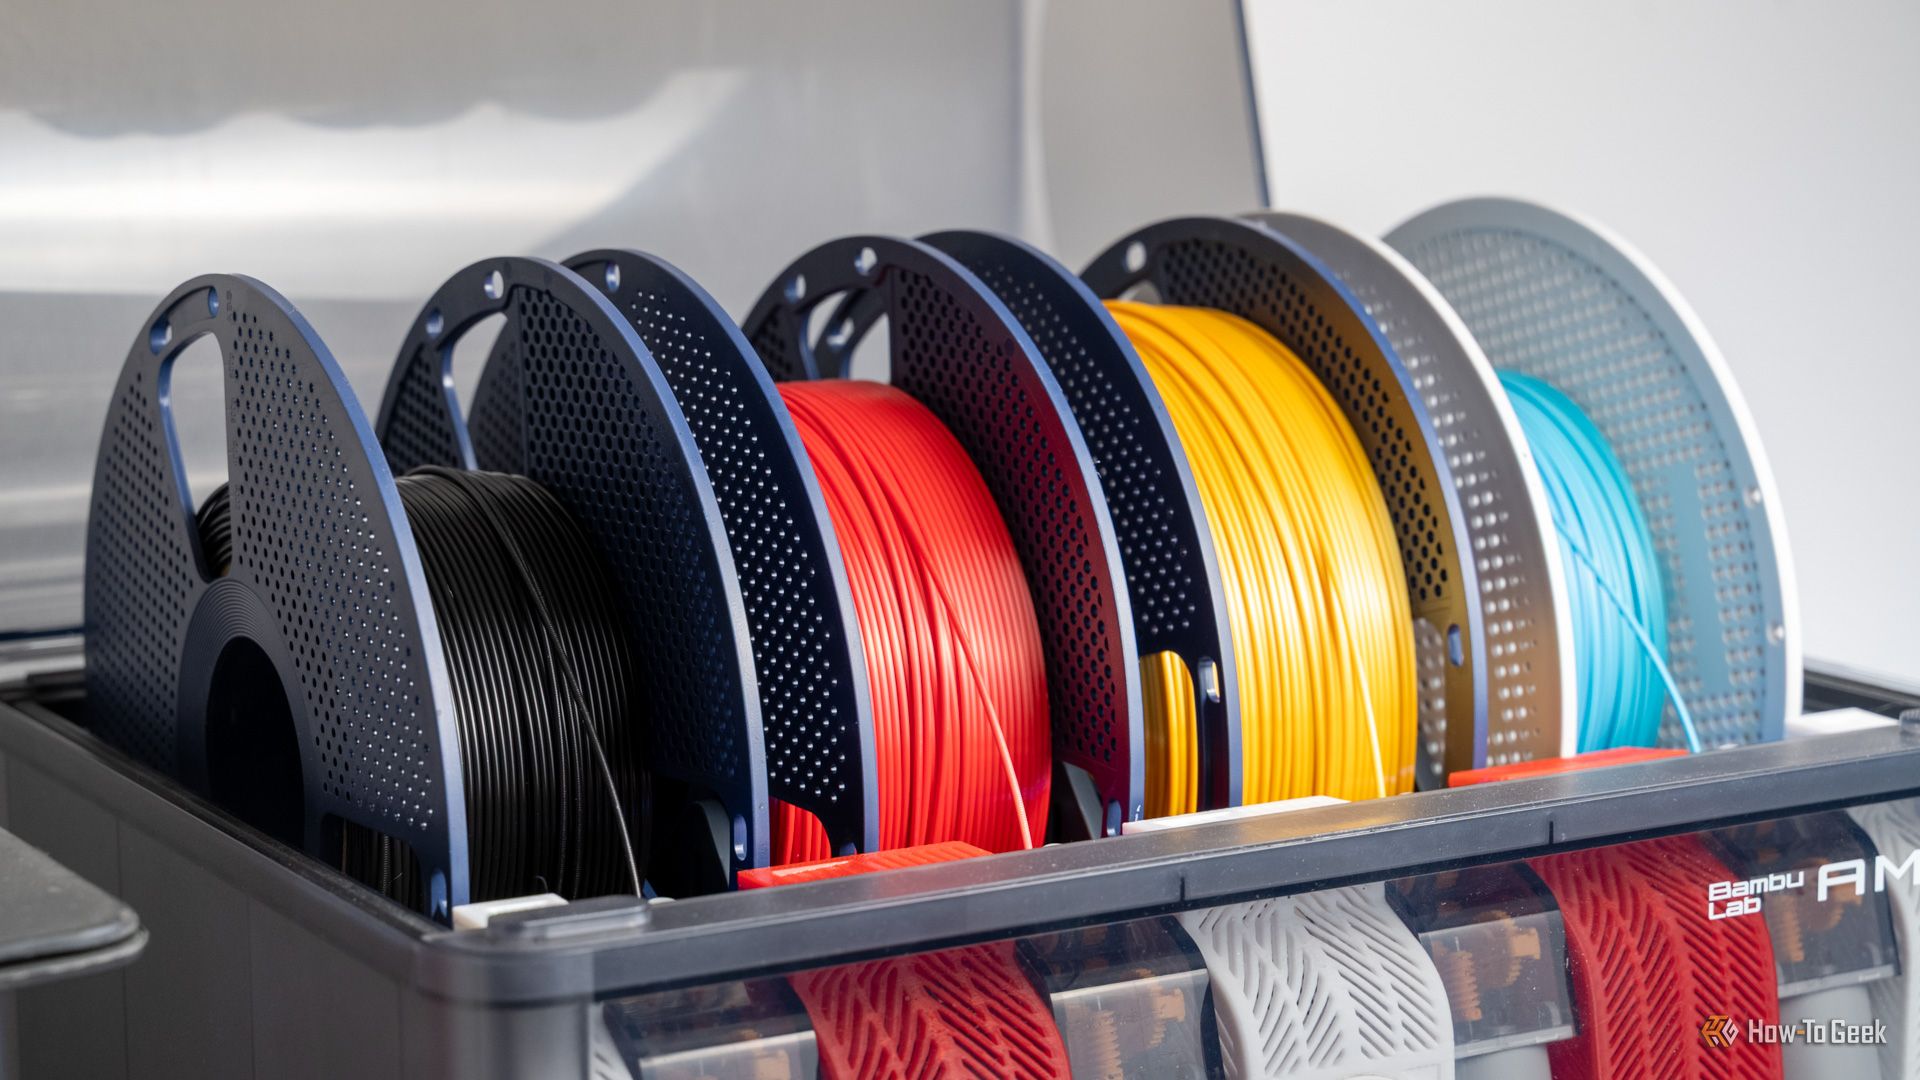
Filament choice matters more in multi-color printing than single-color. Here's what works:
- Bambu PLA Basic / Matte — the easiest to dial in for multi-color. Consistent shrinkage, excellent AMS feeding, wide color range. Matte finishes hide layer lines better on figure surfaces.
- Bambu PLA Silk — beautiful sheen that mimics the look of painted figures. Slightly more prone to stringing; increase retraction settings. Great for metallic armor details.
- eSun PLA+ — excellent alternative if you want to mix brand filaments. Good cross-brand compatibility in AMS, strong color pop.
- Avoid TPU for multi-color — TPU doesn't work reliably in AMS due to flexible feed. Use it as a single-color accent only on separate passes.
Color order tip: Load colors from lightest to darkest in your AMS slots. When Bambu Studio decides purge amounts between colors, lighter → darker transitions require less purge than dark → light. Ordering your filament slots this way saves waste.
Slicer Settings for Clean Color Transitions
Bambu Studio handles most of the heavy lifting, but these settings are worth tweaking:
- Flush calibration — run this for every new filament pair. It tests how much purge is needed to go from Color A → Color B cleanly. Saves filament long-term.
- Prime tower width — start at 35mm, reduce to 25mm once you've calibrated your flush amounts. Narrower tower = less waste.
- Avoid color crossing — in Bambu Studio's color assignment, try to minimize the number of times a color appears on separate, non-adjacent sections. Each reappearance requires a swap cycle.
- Support interface filament — if you're using supports, assign a contrasting color (or a dissolvable filament if you have a second AMS) so support removal doesn't mar the figure's surface.
Print-in-Place vs Multi-Part Assembly for Figures
Articulated figures (flexi-prints, print-in-place joints) and multi-color printing are a powerful combo — you get a figure that moves AND looks painted. But there's a trade-off:
- Print-in-place articulated figures work best in a single color or 2-color max. Complex multi-color increases the layer count per section, which can cause joint seizing if the parts touch during a long multi-color swap sequence.
- Multi-part figures (print each piece separately, assemble after) let you maximize color on each piece without joint issues. Great for display figures but require assembly.
- The sweet spot: Print the body in one multi-color job (outfit, skin, hair), then print accessories (swords, shields, props) separately in their own colors and glue or clip on. CA glue (gel formula) is the standard adhesive — it's instant, near-invisible at the seam, and works on PLA without prep. See our guide to attaching 3D prints together for clean assembly options.
Figure Types That Work Best With AMS Multi-Color
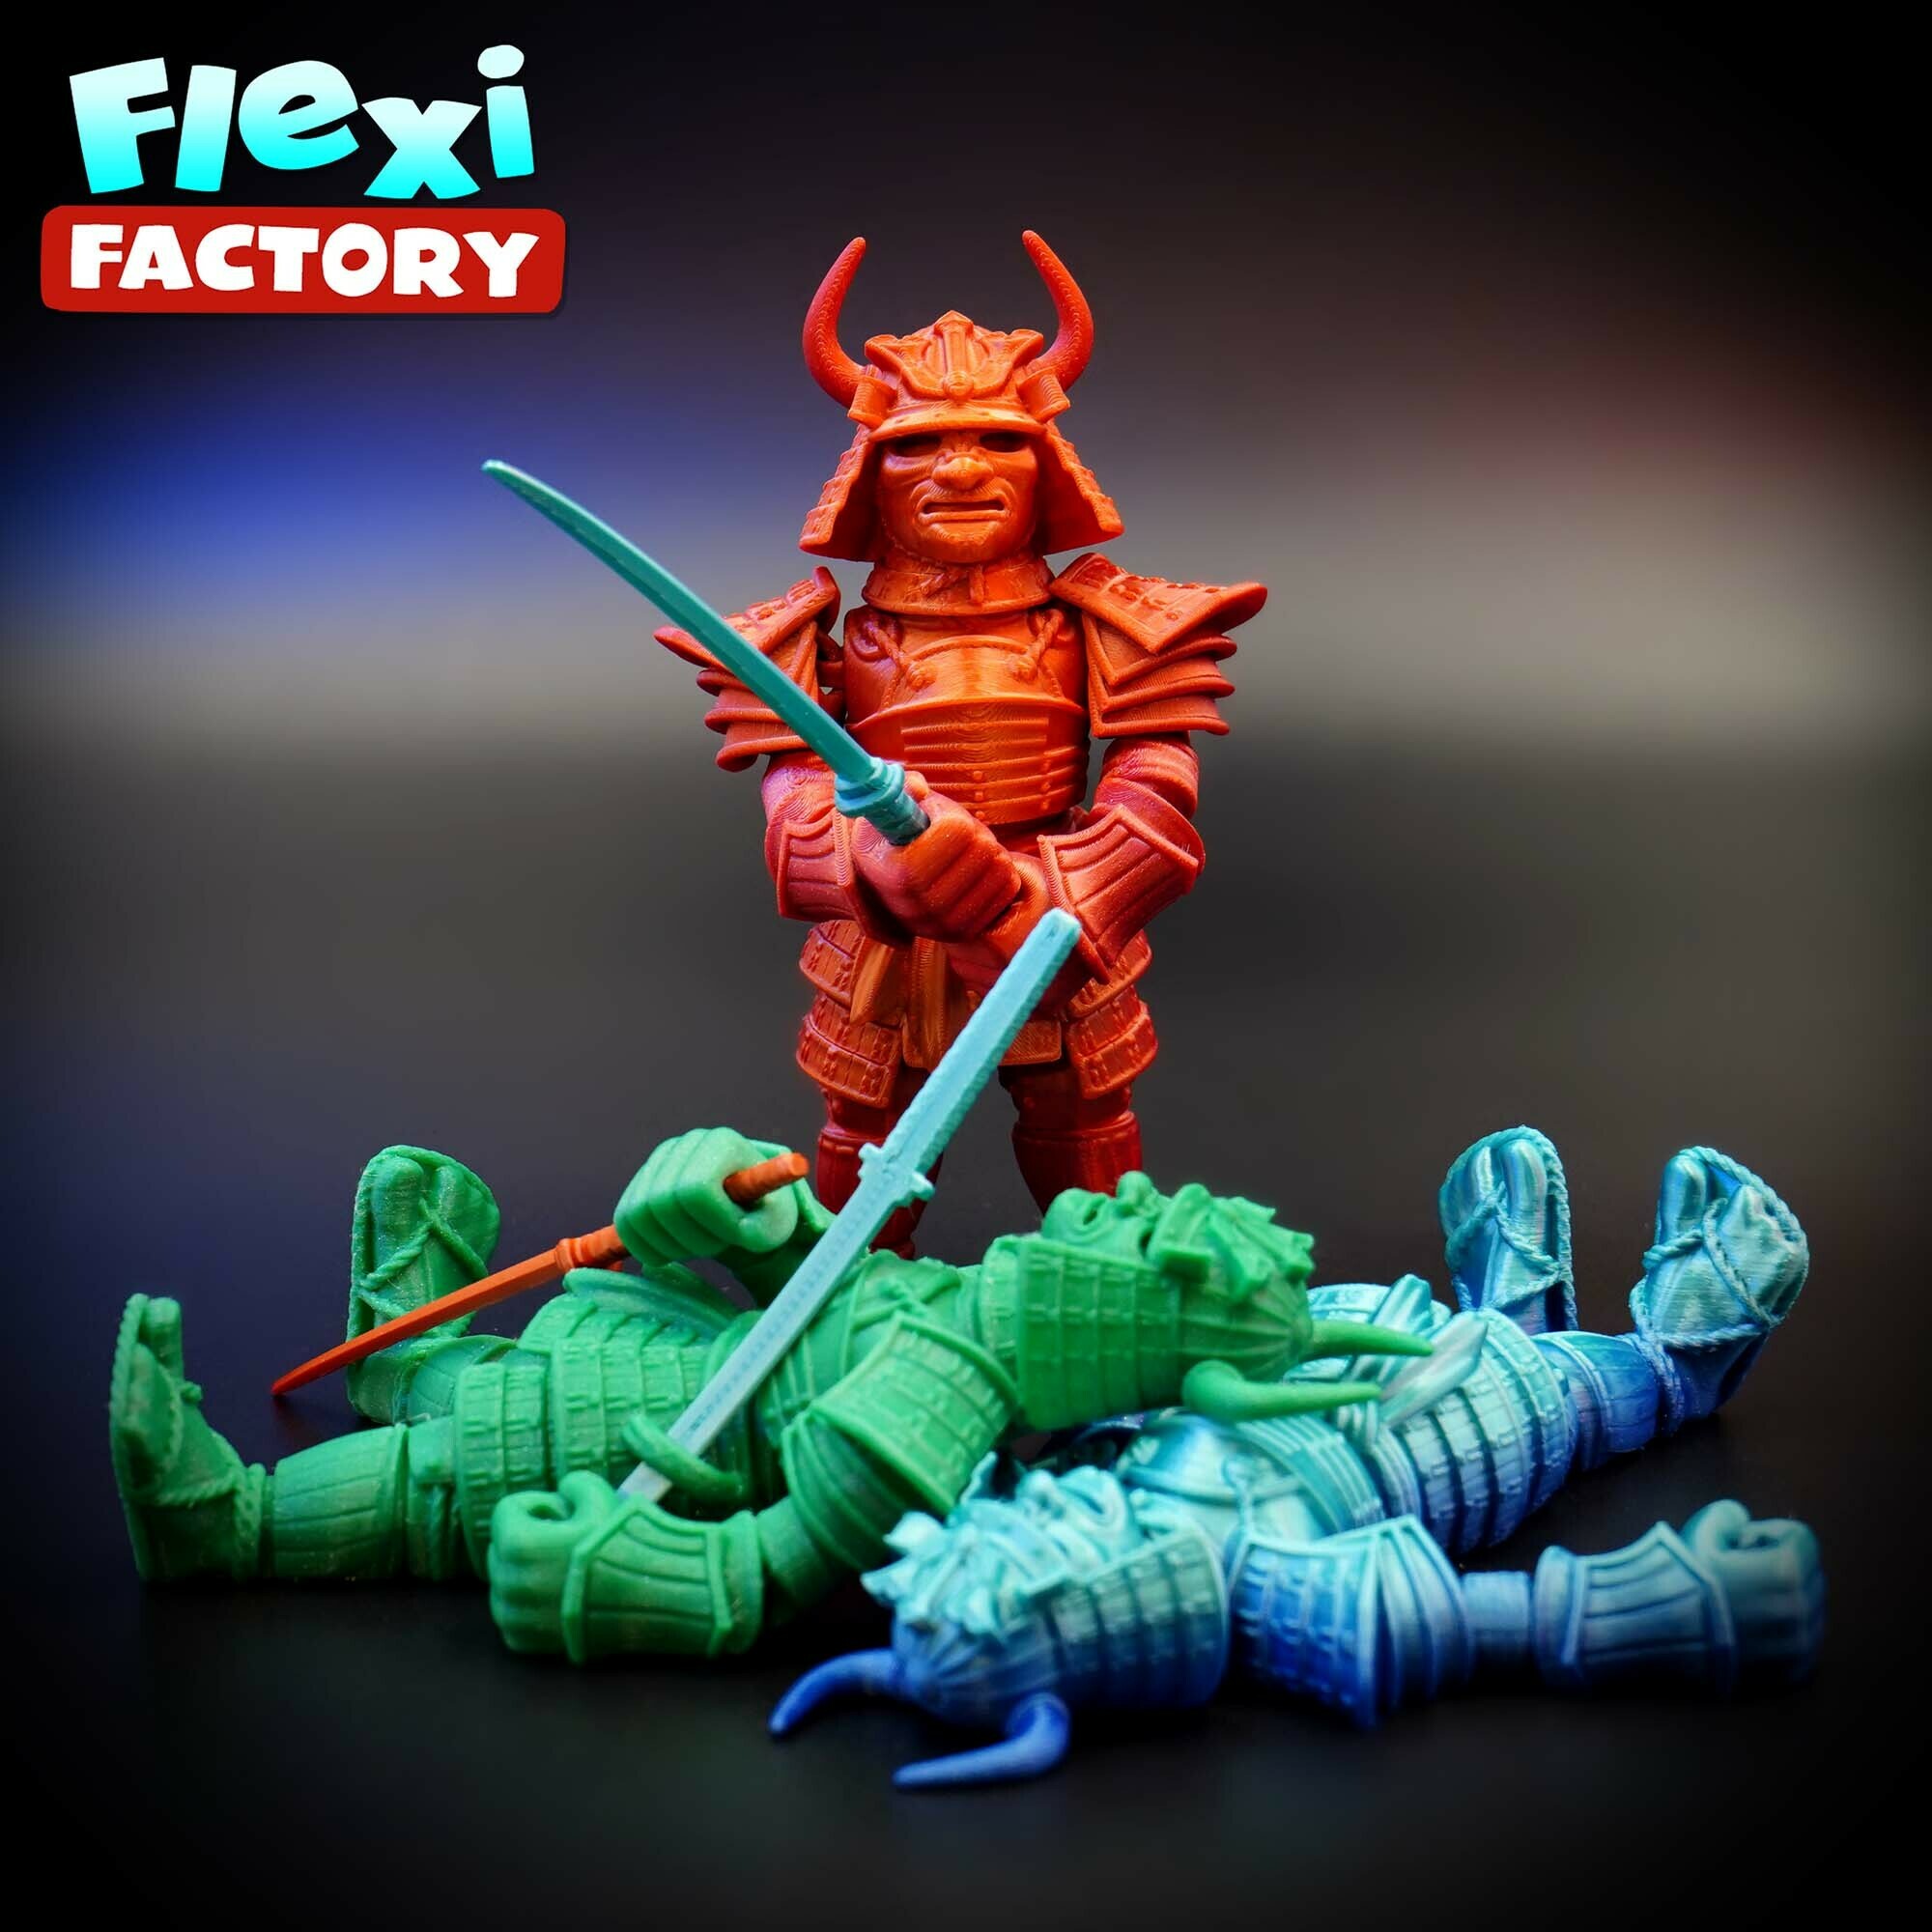
Some figure styles are better suited to multi-color FDM than others:
- Chibi / super-deformed figures — large color blocks, minimal detail lines. AMS handles these extremely well. 3–4 colors is enough for a complete figure.
- Armor-heavy characters — samurai, knights, mecha. Color zones follow armor panels naturally. Great for characters like those from Demon Slayer Corps, Final Fantasy jobs, or Witcher armor sets.
- Flat-graphic anime aesthetic — characters with bold, solid color fills (like Dragon Ball Z fighters or Naruto shinobi outfits) print cleanly because there's minimal gradient work needed.
- Avoid: hyper-realistic skin gradient, subsurface scattering-style face painting, or tiny detail work under 5mm. AMS color transitions aren't fine enough for micro-detail at small scales.
Checking Out Our Printed Collectibles
At Geeky Inc we print articulated anime and gaming collectibles using exactly this workflow — multi-color FDM on Bambu hardware, no painting.
And for the best articulated figures to print:
Best Articulated 3D Prints: Dragons, Creatures & Fidget Toys
Want more 3D printing + anime + gaming content? We drop guides, STL picks, and collectible news for FDM printers. Join the Geeky Inc community →
Related reading: Ready to step up from the P1S to a multi-material flagship? Compare the H2D, H2C, and X2D side by side in our Bambu Lab H2D vs H2C vs X2D: Full Comparison (2026).
Geeky Inc Minis
Tiny dragons, kitsune and golems for your shelf.
Multi-color 3D-printed minis, printed, finished and shipped by us. $2.50 each, or 12 for $23.
Browse the minis →


Member discussion